


Educate. Equip. Explore.
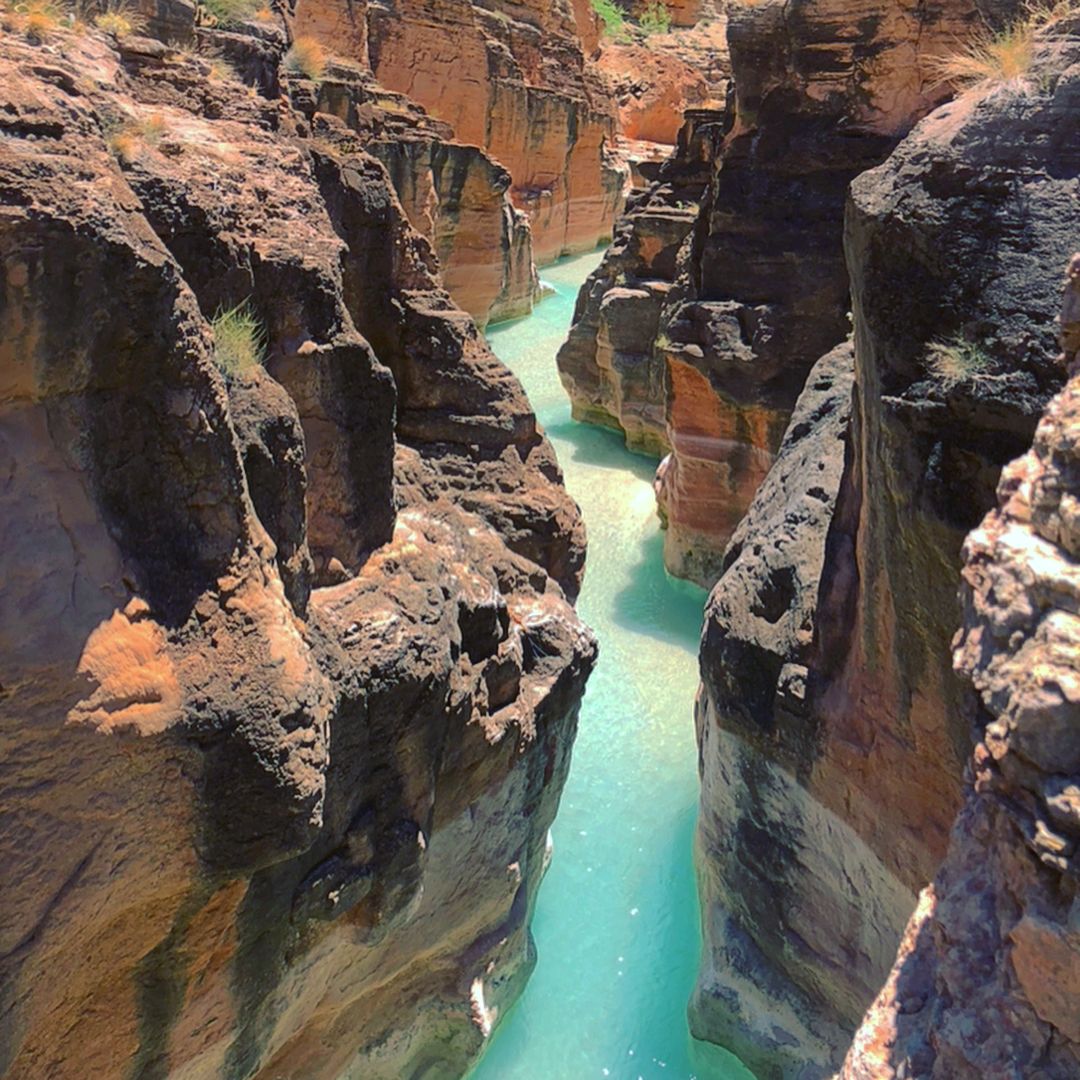
If you’ve ever dreamed of exploring the turquoise waters and rugged canyons of Havasu Falls, but aren’t sure where to start – especially if you’re starting from scratch – you’re in the right place. In this guide, I’ll share my personal 3‑day camping itinerary at Havasu Falls, along with all the exact gear you need for a safe and unforgettable trip.
For a quick reference to every essential item, click here:
Tip: Print or save a checklist of your gear so nothing essential is left behind.
Before You Go: Planning & Preparation
Camping at Havasu Falls requires some serious advance planning. First, secure your permits and reservation for the Havasupai campground. You can book your permit through the official Havasupai website found here. Expect a 10‑mile trek from the trailhead, so preparation is key. For the beginners out there, having the right gear makes all the difference. Whether you’re trekking into the canyon or enjoying a peaceful evening by the falls, each item on your list plays a crucial role.
Pack Mules: Use Them or Not?
Pack mules can transport gear into Havasu Falls, helping hikers manage heavy loads on the descent. While useful, reports of animal mistreatment have led some to avoid using them.
Best Approach
If you choose mules, they’re most beneficial on the way in to conserve energy. On the way out, packing your own gear allows for an early departure and avoids scheduling constraints. By then, your pack will be lighter, making the uphill trek more manageable.
Book mule services in advance through the Havasupai Tribe’s reservation system and research ethical concerns before deciding.
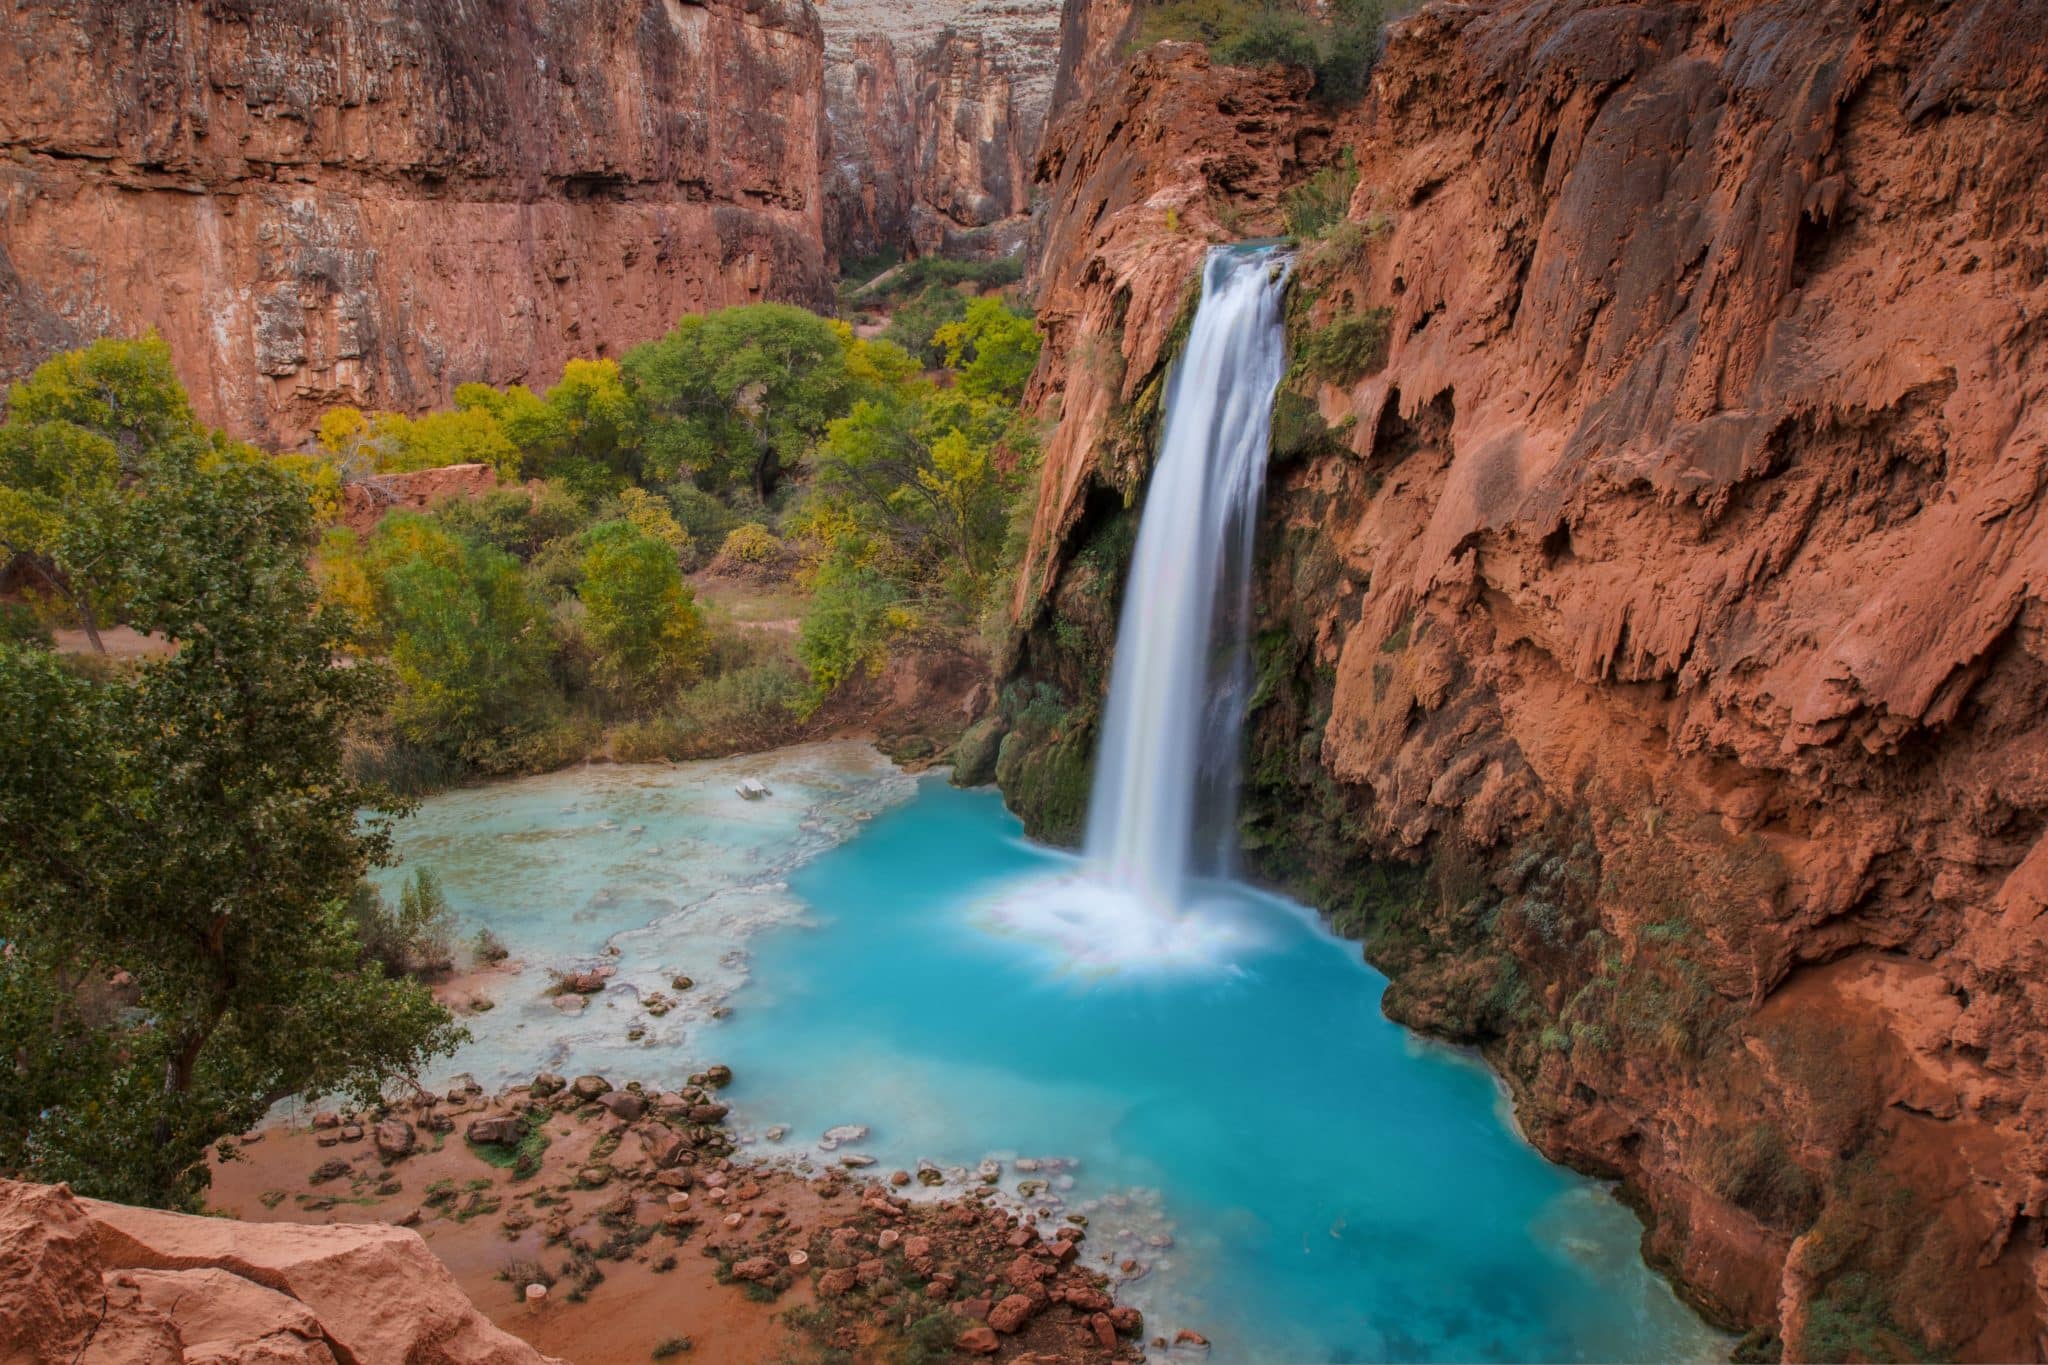
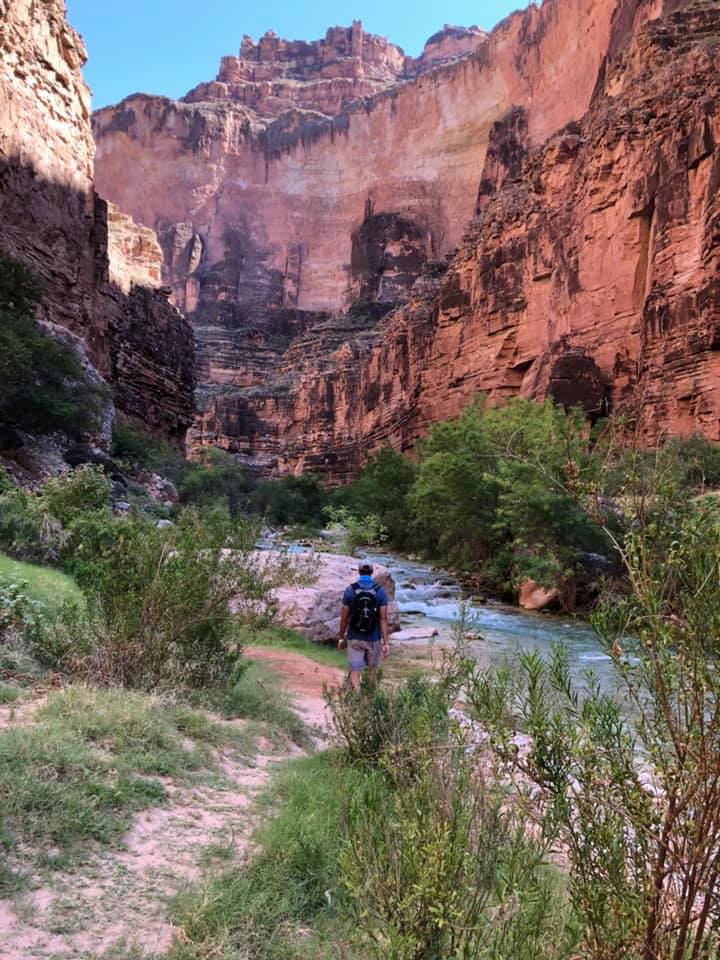
Day 1: The Hike In and Camp Setup
The Trek Begins
Set off early in the morning, stocked with enough water and supplies in your reliable 45–60L Hiking Backpack. I recommend leaving before sunrise around 4:00 am to avoid the midday heat. As you make your way through desert trails and rocky paths, remember that the journey is part of the adventure!
Setting Up Camp
Once you arrive at the campground, the first task is to pitch your shelter. Whether you’re a first-time camper or a seasoned backpacker, using a 2‑Person Camping Tent that’s lightweight and easy to set up makes all the difference. Get cozy with a 3‑Season Sleeping Bag and line it with a Sleeping Pad (Self‑Inflating) for extra comfort and insulation off the cold ground.
Essential Setup Gear
For cooking your first warm meal under the fading desert sun, bring along a Jetboil Portable Camp Stove and a Fuel Canister. Keep it simple and bring this Collapsable Cup, Bowl, and Utensil. Since you pack everything in and out keep the food simple. I recommend, in no particular order, Beef Jerky, Oatmeal, Cliff Bars, Dried Fruit Mix, Dehydrated Meals, Top Ramen, and Powdered Drink Mixes. A collapsable Water Jug is essential as your campsite could be a quarter mile or so from the camps water source.
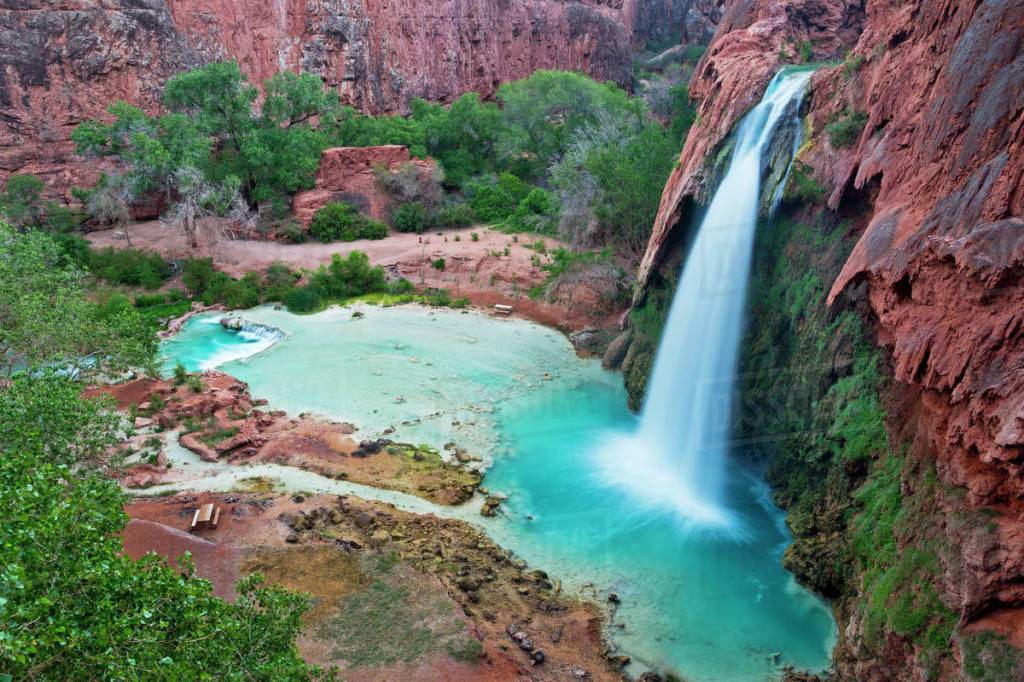
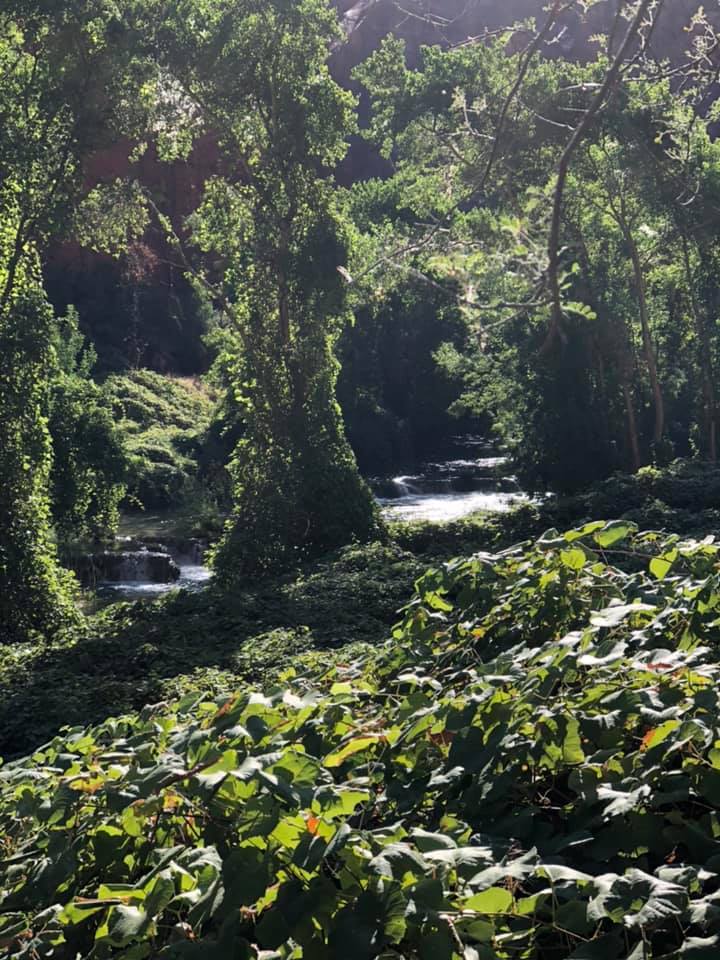
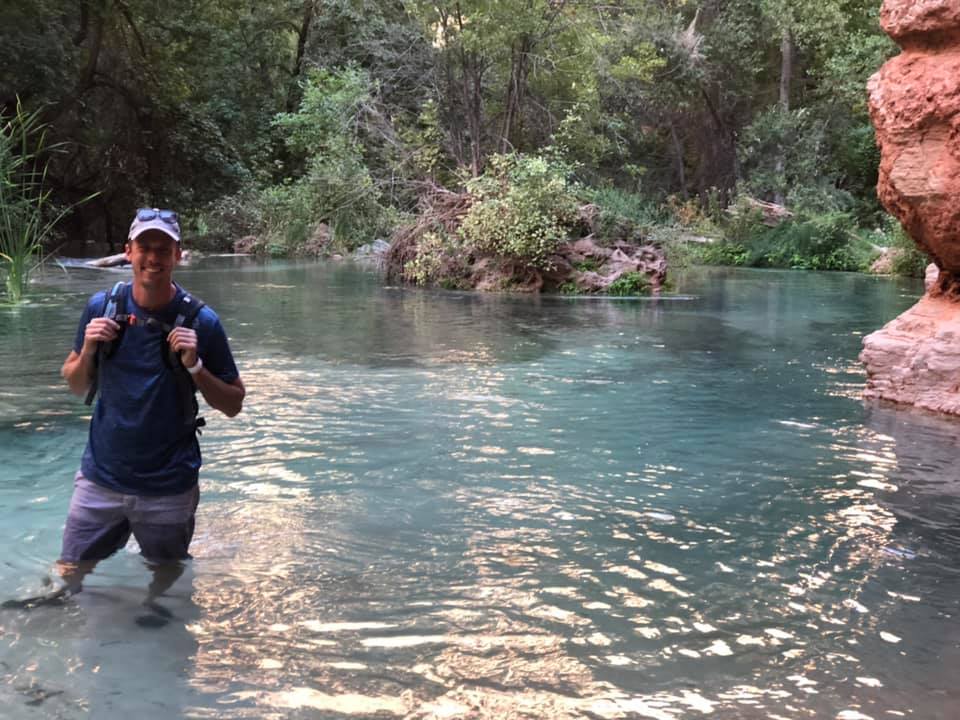
Day 2: Exploring the Falls & Embracing the Outdoors
Morning – Hitting the Trails
After breakfast, it’s time to explore. Ditch your backpack and pack your Day Pack With Bladder Ensure you stay hydrated by and purify any natural water sources with a Water Filter or Purifier as you go. Expect a full day of adventure, so pack a First Aid Kit in case of minor mishaps and carry a Multi‑Tool (Swiss Army Knife) for unexpected repairs. Now go explore those waterfalls!
Lighting Up the Adventure
As daylight fades, switch on your LED Headlamp for hands‑free illumination and set up a Portable Lantern around the campsite for additional lighting. Starting a fire is not permitted on the campgrounds. Instead, use these Camping String Lights for additional lighting and ambiance.
Staying Comfortable Outdoors
Don’t forget your personal protection against the elements – apply High‑SPF, Waterproof Sunscreen and wear bug‑repelling Insect Repellent Spray.
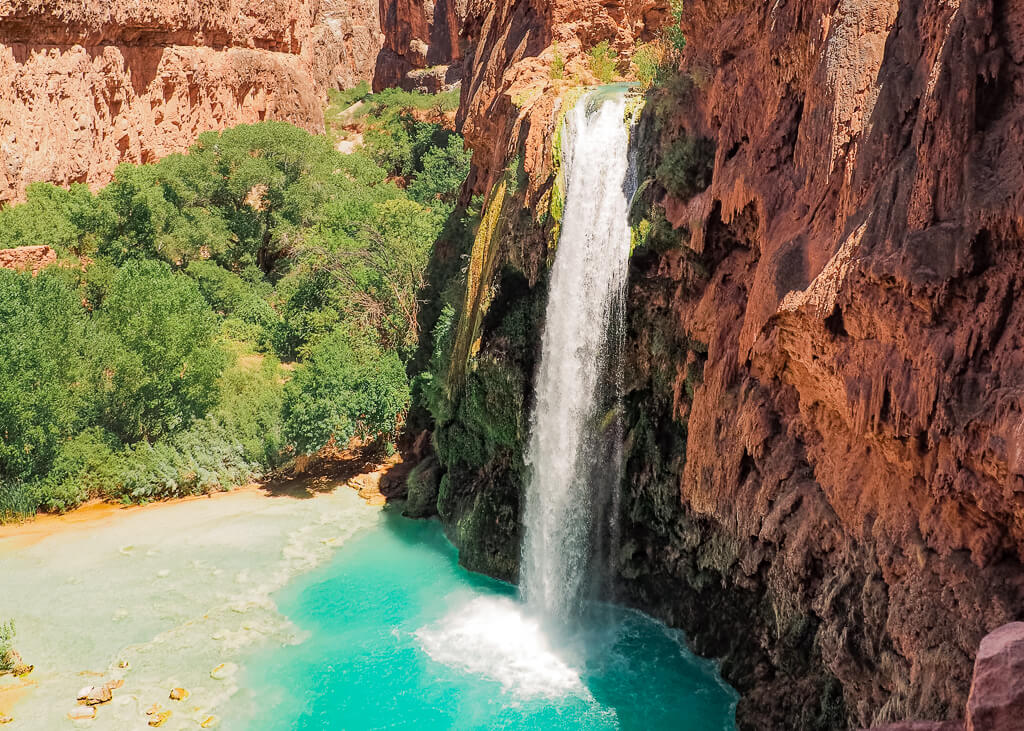
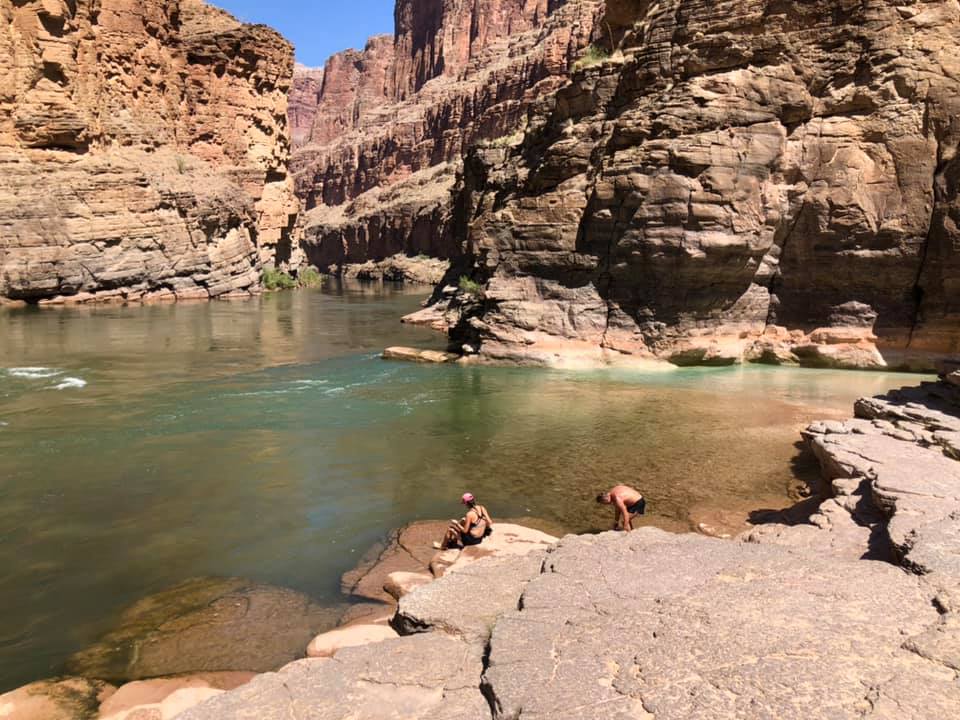
Day 3: Deep Dive into Adventure & Leisure
Morning – More Exploration & Relaxation
Rise with the sun to seize the day. Whether you choose to unwind in your Camping Hammock
or peruse the trails by sitting on your Portable Camp Chair, the day is yours to explore further. Revisit your favorite spots or discover new areas of Havasu’s breathtaking scenery.
Day 4: Beating the Heat – A 3 AM Departure from Havasu Falls
Morning – The Early Escape to Avoid the Heat
On the last morning of your adventure, set your alarm for 2:30 AM and prepare for an early departure. Leaving by 3:00 AM is one of the smartest moves for tackling the switchback trails before the intense desert heat makes the journey far more difficult. With the cool pre-dawn air on your side, this final leg of the trip will be much more manageable.
Packing Up & Leaving No Trace
Before heading out, be sure to pack out all waste following Leave No Trace principles. Instead of standard trash bags, a Camping Trash Pack is ideal for efficient waste disposal. As you break down your camp, double-check all gear, ensuring everything from your tent and sleeping bag to cooking supplies and first aid kit are packed properly.
The Final Hike Out
With your headlamp illuminating the way, the first stretch of the hike should feel calm and peaceful. As you ascend the switchbacks, focus on steady pacing, using Trekking Poles to ease the climb. The cool desert air at dawn makes this hike significantly more bearable compared to later in the day.
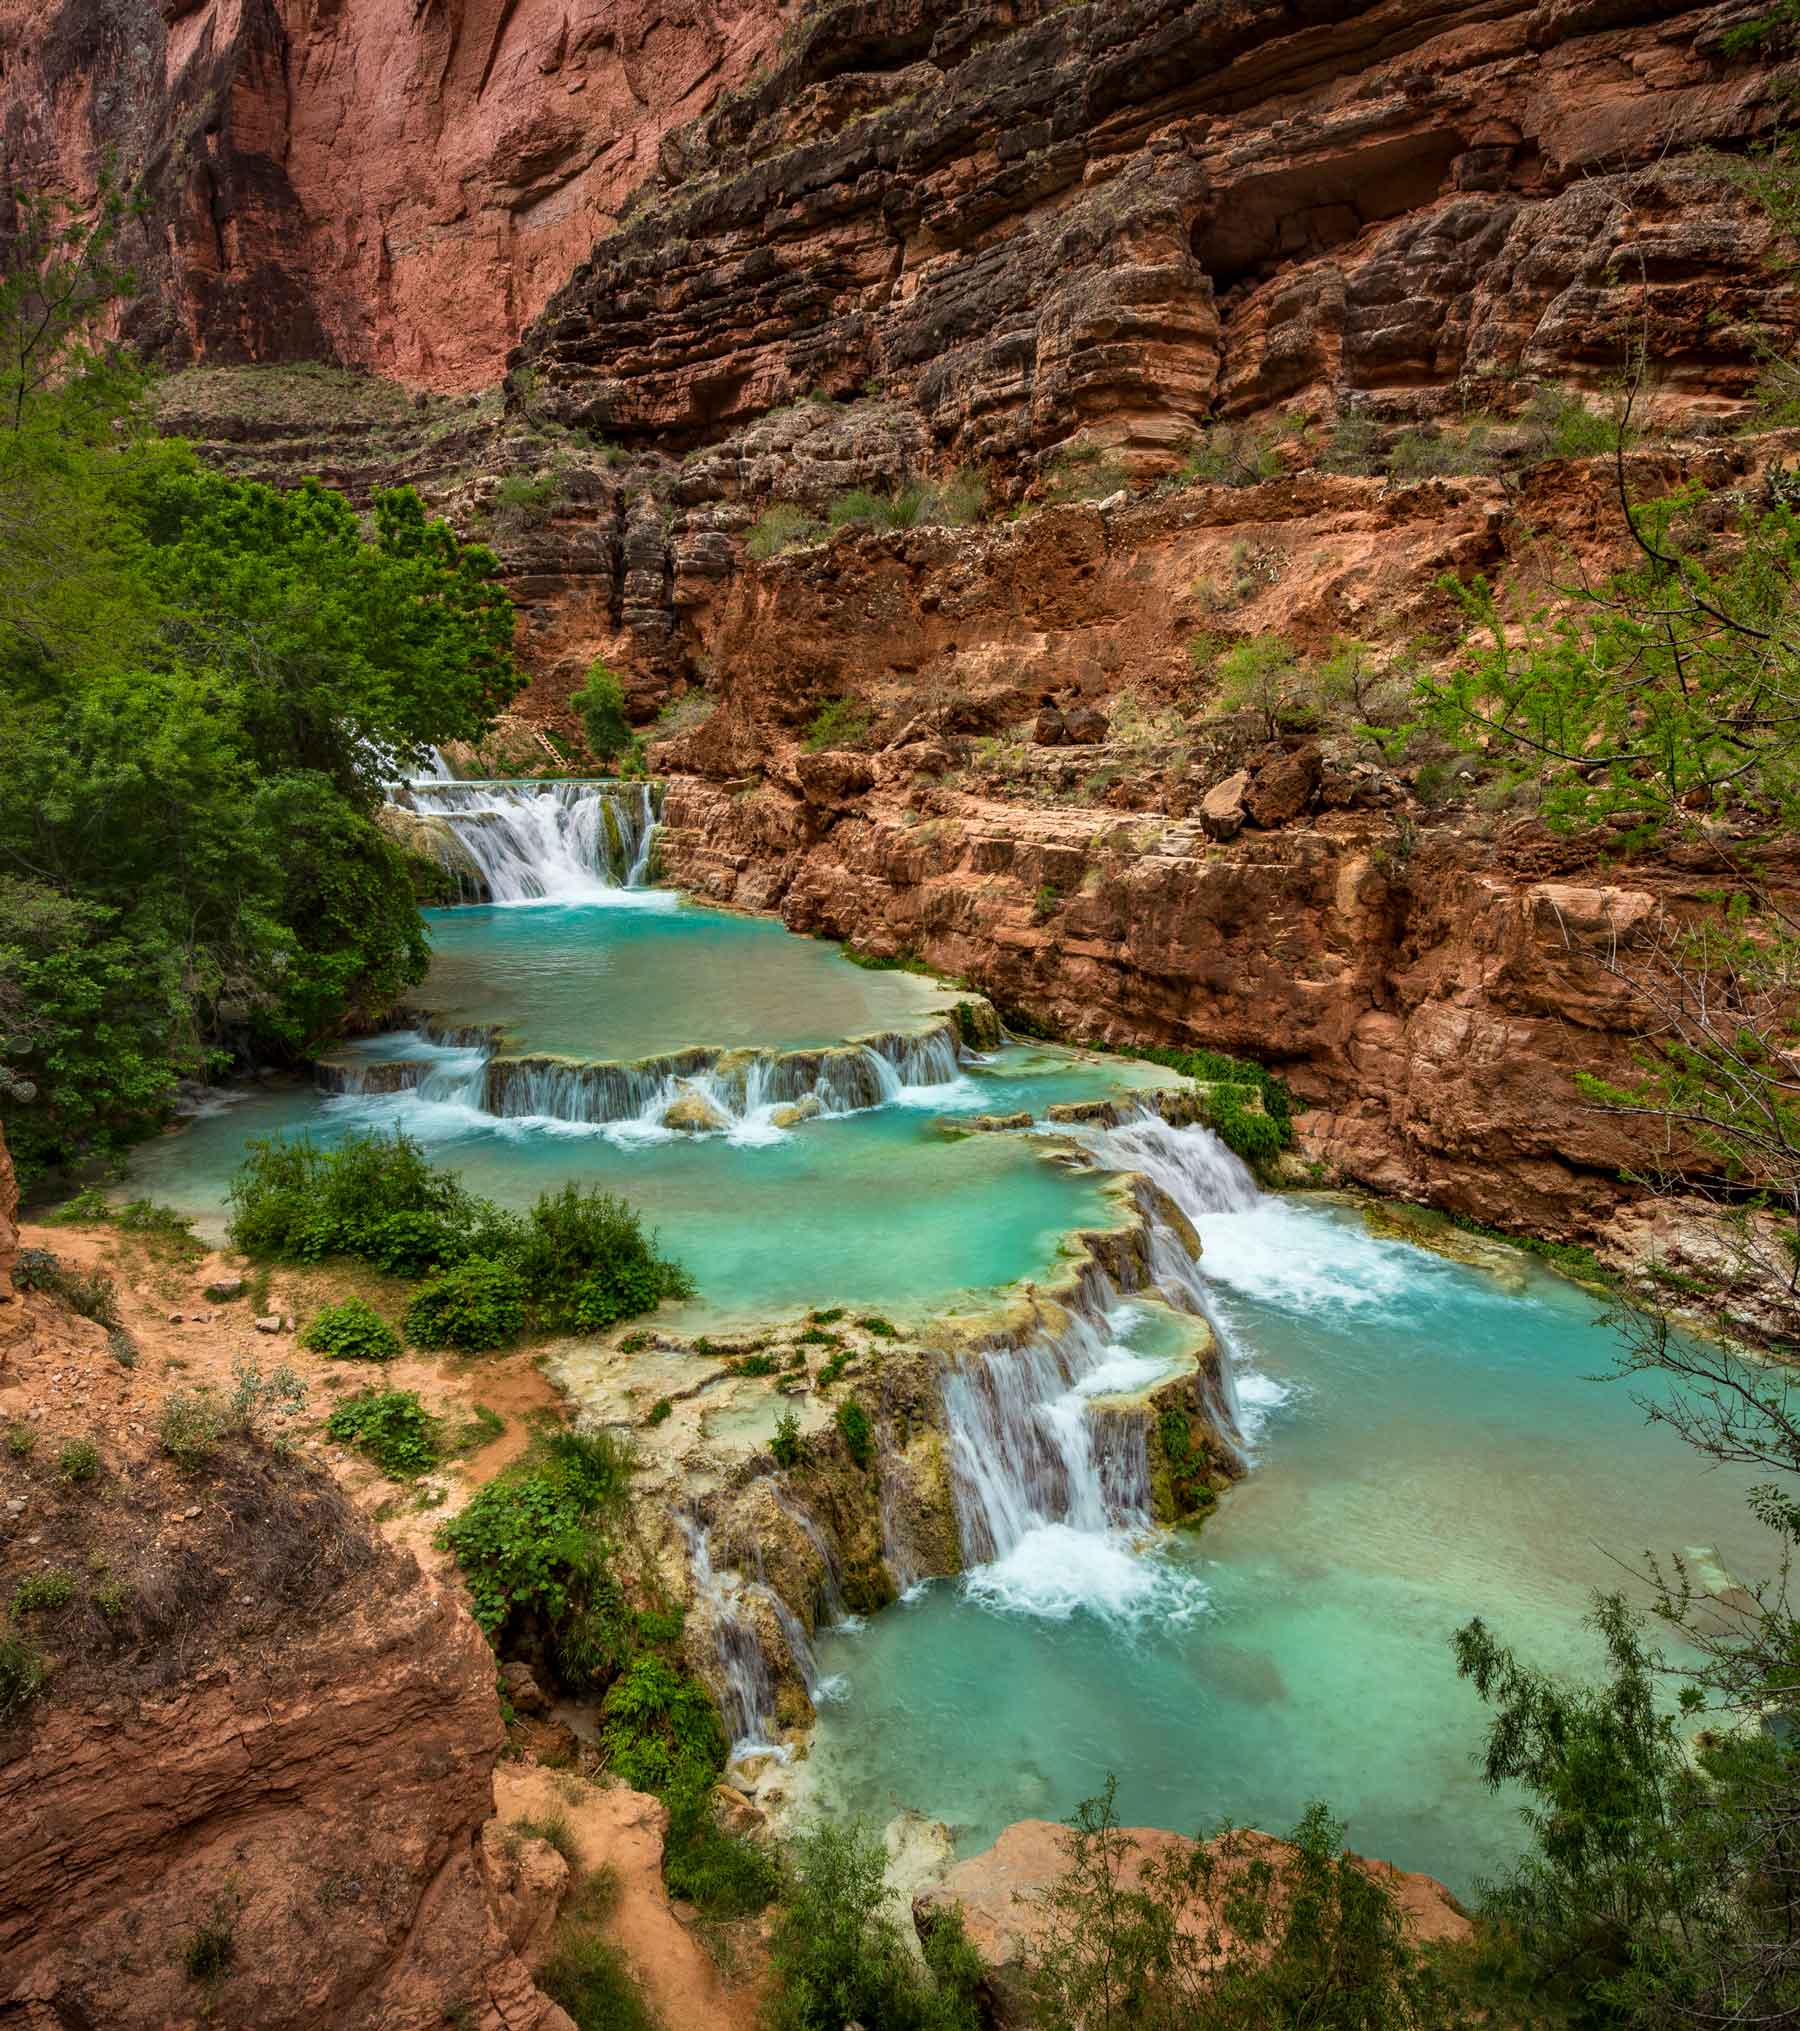
The closer you get to the trailhead, the sun will begin to rise, illuminating the towering canyon walls one last time. Pause to take in the view—it’s a breathtaking farewell to Havasu Falls.
Once you reach the parking lot, drop your camping trash pack into a proper disposal area, take a final deep breath, and reflect on the adventure you just completed. You did it!
COMPLETE HAVASu falls PACKING LIST
Essential Gear
- 45–60L Hiking Backpack. – A durable pack designed to carry all your gear.
- 2‑Person Camping Tent – Lightweight shelter essential for overnight stays.
- 3‑Season Sleeping Bag – Keeps you warm during cooler desert nights.
- Sleeping Pad (Self‑Inflating) – Offers comfort and insulation off the ground.
- Jetboil Portable Camp Stove – Reliable for on‑the‑go meal preparation.
- Fuel Canister – To power your stove throughout the trip.
- Collapsable Cup, Bowl, and Utensil – Durable dining essentials.
- Water Filter or Purifier – Ensures your water is safe to drink.
- Hydration System (Water Bottle or Reservoir) – Keeps water accessible during hikes.
- First Aid Kit – For handling minor injuries.
- Multi‑Tool (Swiss Army Knife) – Versatile for repairs and unforeseen needs.
- LED Headlamp – Hands‑free lighting after sunset.
- Portable Lantern – Provides necessary light around camp.
- Camping String Lights – Provides comforting light and ambience around camp.
- Insect Repellent Spray – Keeps bugs and mosquitoes away.
- High‑SPF, Waterproof Sunscreen – Protects you from the harsh sun.
Clothing & Personal Gear
- Moisture‑Wicking T‑Shirts (2–3) – Breathable tops for active days.
- Long‑Sleeve Shirt for Sun Protection – Extra coverage when needed.
- Convertible Hiking Pants/Shorts – Adaptable to changing conditions.
- Lightweight Jacket or Fleece – For added warmth during cooler hours.
- Hiking Socks (2–3 pairs) – Prevents blisters and ensures comfort.
- Moisture‑Wicking Underwear – Essential for active outdoor wear.
- Sun Hat/Cap – Helps protect your face.
- Lightweight Gloves – Depending on time of year can be helpful to keep your hands warm.
- Quick-Dry Travel Towel – Compact, absorbent, and travel‑friendly.
Relaxation & Comfort
- Camping Hammock – Perfect for relaxing between adventures.
- Portable Camp Chair – Adds extra comfort at camp.
Food & Cooking Essentials
- Non‑Perishable Food Items – Meals and snacks to fuel your journey.
Navigation & Electronics
- Portable Power Bank/Charger – Ensures your devices stay charged.
- Navigation Tools (Map, Compass, or GPS) – Keeps you on course.
- Notebook & Pen – Capture memories and trip details.
- GoPro Hero 12 Black – Waterproof and rugged, perfect for filming the falls up close.
- DJI Mini 3 Drone – Compact and ideal for aerial shots of the canyon.
- Anker PowerCore 26800 Portable Charger – High-capacity charging for multi-day hikes.
- SanDisk Extreme Portable SSD – Fast, reliable storage for backing up photos and videos.
- Garmin inReach Mini GPS – Satellite communication for emergency situations.
Packing Out & Leave No Trace
- Multi-Purpose Collapsible Trash Bag – A compact, foldable trash bag for efficient waste management.

Leave a comment